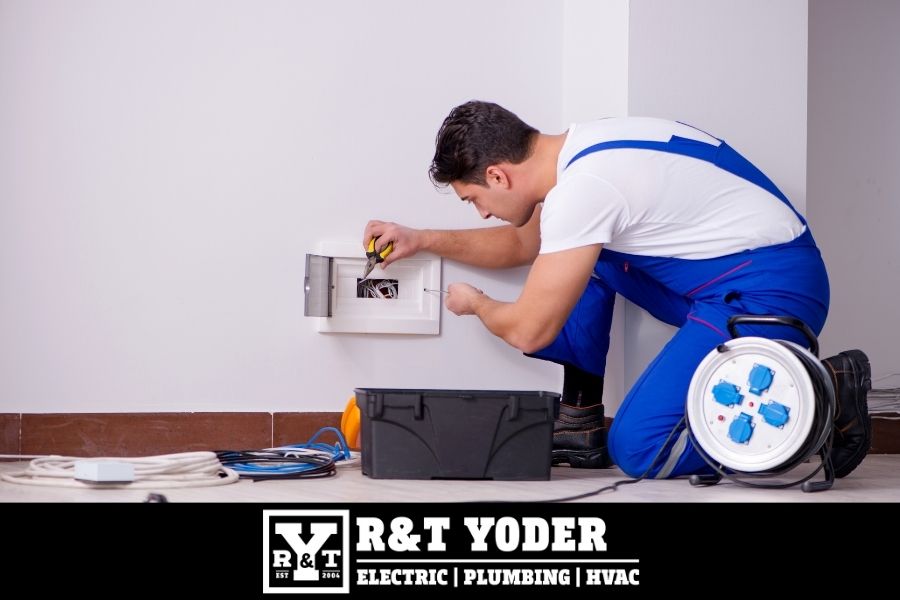
Adding an electrical outlet to an existing line is a practical and cost-effective way to enhance your home’s functionality. Whether you need additional outlets for a home office, entertainment system, or new appliances, this task can often be completed as a DIY project with the right tools, knowledge, and precautions. However, it’s crucial to adhere to safety standards and building codes to avoid electrical hazards or system inefficiencies. This comprehensive guide walks you through each step of the process, from preparation to testing, ensuring a safe and effective installation.
Understanding the Role of Electrical Outlets
Electrical outlets are vital components of any home’s electrical system, serving as connection points for appliances and devices. They provide safe and reliable access to electricity by channeling power from the main circuit to where it’s needed.
When adding an outlet to an existing line, you’re essentially extending the current circuit. This requires careful planning to ensure the circuit is not overloaded and remains compliant with safety regulations. Proper installation not only enhances convenience but also protects your electrical system from potential faults.
Before You Begin: Tools and Materials
Essential Tools
- Voltage Tester: To verify that the circuit is de-energized.
- Screwdrivers (Flathead and Phillips): For removing and installing outlets and faceplates.
- Wire Strippers: For preparing wires for connections.
- Needle-Nose Pliers: For precise wire manipulation.
- Fish Tape: To guide wires through walls.
Required Materials
- Electrical Box: A secure enclosure for the new outlet.
- New Outlet (Receptacle): Choose a standard or GFCI outlet based on the location.
- Cable: Use Romex or similar wiring, matching the gauge of the existing circuit.
- Wire Connectors (Wire Nuts): To secure wire connections.
- Electrical Tape: For added insulation and safety.
- Outlet Cover Plate: To protect and finish the installation.
Having these tools and materials on hand ensures a smoother installation process and reduces the likelihood of errors.
Planning the Installation
Evaluate Circuit Capacity
Before adding an outlet, it’s essential to determine whether the existing circuit can handle the additional load. Most residential circuits are rated for 15 or 20 amps. Overloading a circuit can cause breakers to trip or wires to overheat, increasing the risk of fire.
Calculate the cumulative wattage of devices connected to the circuit. If it approaches or exceeds 80% of the circuit’s capacity (e.g., 1,800 watts on a 15-amp circuit), consider creating a new circuit instead of adding an outlet.
Choose the Location
The location of the new outlet should balance accessibility and practicality. Avoid placing outlets in locations prone to moisture, such as near sinks or bathtubs, unless you’re installing a GFCI outlet. Ensure the outlet’s position adheres to electrical codes, which often specify distances between outlets in residential settings.
Step-by-Step Installation Guide
Step 1: Turn Off the Power
Locate the circuit breaker that powers the existing outlet. Turn it off and confirm with a voltage tester that no power is flowing to the circuit. Never skip this step, as working on a live circuit poses significant risks of shock or fire.
Step 2: Remove the Existing Outlet
Unscrew the faceplate and remove the existing outlet from its electrical box. Carefully disconnect the wires, noting their positions (hot, neutral, and ground) for reconnection later.
Step 3: Install the New Electrical Box
- Cut a hole in the drywall large enough to accommodate the new electrical box.
- Secure the box to the wall, ensuring it is level and flush with the surface. Use appropriate mounting brackets if needed.
Step 4: Run the Wiring
- Use fish tape to guide the new cable through the wall from the existing outlet to the new box.
- Ensure the cable runs smoothly without kinks or sharp bends, as these can cause wear over time.
- Strip about 1/2 inch of insulation from the ends of the wires, exposing the copper conductors.
Step 5: Connect the Wires
- At the existing outlet, connect the new wires to the corresponding terminals: black (hot) to brass, white (neutral) to silver, and green or bare (ground) to the ground screw.
- Repeat these connections at the new outlet, ensuring all connections are secure and tight. Loose connections can cause arcing and increase the risk of fire.
Step 6: Test the Connections
Turn the power back on temporarily and test the new outlet with a voltage tester or small appliance. Verify that the outlet delivers the correct voltage and powers devices properly.
Step 7: Secure and Cover the Outlet
- Once the connections are verified, attach the outlet to the electrical box with screws.
- Install the cover plate, ensuring it sits flush against the wall for a clean and professional finish.
Common Mistakes to Avoid
1. Overloading the Circuit
Adding too many outlets to a single circuit can lead to frequent breaker trips, overheating, or even fires. Always calculate the circuit’s capacity before proceeding.
2. Using the Wrong Wire Gauge
The wire gauge must match the circuit’s rating. For example, a 15-amp circuit typically requires 14-gauge wire, while a 20-amp circuit requires 12-gauge wire. Using mismatched wires can result in overheating and damage.
3. Failing to Ground the Outlet
Proper grounding is essential for electrical safety. A grounded outlet provides a safe path for electrical faults, preventing shocks and equipment damage.
4. Working on a Live Circuit
Never attempt electrical work without confirming the power is off. Always use a voltage tester for verification.
5. Poor Wire Connections
Loose or poorly connected wires can cause arcing, which generates heat and poses a significant fire risk. Double-check all connections to ensure they are secure.
When to Call a Professional
While many homeowners can manage basic electrical tasks, some situations require the expertise of a licensed electrician
- Circuit Overload: If the circuit is already near capacity, an electrician can help assess and upgrade your system.
- Complex Wiring Systems: If the existing wiring is old or non-standard, professional assistance ensures safety and compliance.
- Code Compliance: Local electrical codes can be complex. An electrician ensures your installation meets all legal requirements.
- Unfamiliarity with Wiring: If you’re unsure about any step, it’s safer to call a professional than risk mistakes.
Enhancing Safety with GFCI Outlets
If the new outlet is installed in a location near water, such as a kitchen or bathroom, consider using a GFCI outlet. These outlets are designed to protect against ground faults, which occur when electricity travels along an unintended path, such as through water. GFCI outlets monitor current flow and shut off power if they detect an imbalance, providing an added layer of safety.
Adding an electrical outlet to an existing line can greatly improve the usability of your home’s electrical system. With the right tools, materials, and knowledge, this task can often be completed as a DIY project. However, safety should always be the top priority. Carefully plan the installation, evaluate circuit capacity, and ensure all connections are secure and compliant with local codes.
If you encounter challenges or are unsure about any aspect of the process, don’t hesitate to consult a licensed electrician. A well-installed outlet not only enhances convenience but also ensures the safety and longevity of your electrical system.


