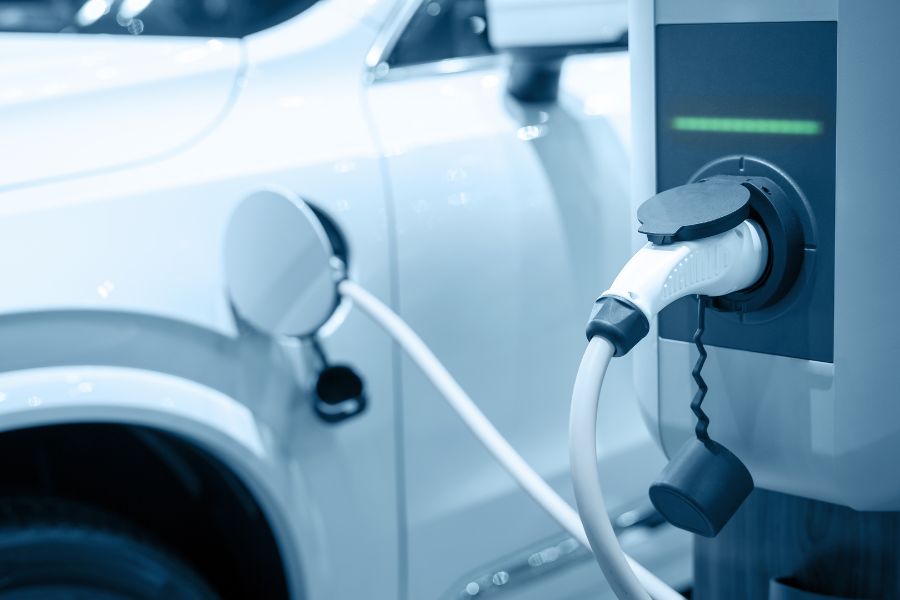
When installing a home EV charger, consider benefits like convenience, faster speeds, cost savings, and property value. Know charger types: Level 1, Level 2, and DC Fast Chargers for different needs. Prioritize safety: turn off power, use insulated tools, follow guidelines, and ground properly. Follow steps: gather tools, mount securely, connect wires correctly, and test functionality post-installation. Maintain it: check for damage, clean ports, keep area clutter-free, and schedule professional checks. Understand these elements for a smooth installation process.
Benefits of Installing Home EV Charger
When considering the installation of a home EV charger, it is crucial to understand the numerous benefits that come with this upgrade. One significant advantage is the convenience of having a dedicated charging station at your residence. This means no more trips to public charging stations, saving you time and hassle. Additionally, home EV chargers offer faster charging speeds compared to standard outlets, allowing you to charge your electric vehicle overnight or between errands quickly.
Another key benefit is cost savings in the long run. While the initial installation may require an investment, charging your EV at home is typically cheaper than using public charging stations. You can also take advantage of off-peak electricity rates to further reduce your charging costs. Furthermore, having a home EV charger increases your property value and appeal to potential buyers in the future.
Moreover, installing a home EV charger promotes sustainability by encouraging the use of electric vehicles, which are more environmentally friendly than traditional gasoline-powered cars. By making this eco-conscious choice, you contribute to reducing greenhouse gas emissions and dependence on fossil fuels.
Understanding EV Charger Types
To comprehend the nuances of electric vehicle (EV) charging systems, it is essential to delve into the various types of EV chargers available in the market. There are three primary types of EV chargers: Level 1, Level 2, and DC Fast Chargers. Level 1 chargers are the most basic, requiring a standard 120-volt household outlet and providing a charging rate of about 2-5 miles of range per hour. Level 2 chargers, on the other hand, operate on a 240-volt circuit and can deliver around 10-60 miles of range per hour, making them a popular choice for residential installations. DC Fast Chargers are the quickest option, capable of providing up to 60-80 miles of range in just 20 minutes. It’s important to select a charger that aligns with your EV’s capabilities and your charging needs. Understanding these charger types will help you make an informed decision when choosing the best option for your home EV charging setup.
Safety Precautions for Installation
With the various types of EV chargers now understood, the next critical step is to ensure that safety precautions are strictly adhered to during the installation process. Safety is paramount when dealing with electrical systems. Before starting any installation, make sure to turn off the power to the circuit you will be working on to prevent any electrical hazards. It is essential to use insulated tools to avoid any risk of electric shock. Additionally, always double-check the manufacturer’s guidelines and specifications to guarantee a safe and proper installation. When mounting the charger, ensure it is securely attached to the wall or mounting surface to prevent accidents. Properly grounding the charger is crucial to protect against electrical faults. Lastly, if you are unsure about any part of the installation process or encounter any difficulties, do not hesitate to contact a qualified electrician to ensure the job is completed safely and effectively. Prioritizing safety throughout the installation will provide you with peace of mind and a reliable charging station for your electric vehicle.
Step-by-Step Installation Guide
For a successful EV charger installation, begin by ensuring all necessary tools and equipment are readily available. You will need tools such as a voltage tester, wire strippers, a drill with bits, a screwdriver set, and safety equipment like gloves and safety glasses. Confirm that your EV charger kit includes all the required components before starting the installation process.
Next, shut off the power to the circuit where you will be installing the EV charger. This step is crucial to prevent any electrical accidents during the installation. Follow the manufacturer’s instructions to mount the EV charger on the wall securely. Make sure it is at a convenient height for connecting the cables.
After mounting the EV charger, carefully connect the wires following the wiring diagram provided with the charger. Double-check all the connections to ensure they are secure and correctly placed. Once the wiring is complete, restore power to the circuit and test the charger to verify that it is working correctly. If everything is functioning as expected, your EV charger installation is complete.
Maintenance Tips for Longevity
After successfully completing your EV charger installation, ensuring proper maintenance is key to maximizing its longevity and performance. To start, regularly inspect the charger and its components for any signs of damage or wear. Check the cables for fraying, the plug for any discoloration, and the charging port for debris or corrosion. Clean the charging port with a dry cloth to prevent any interference with the connection. Additionally, it is crucial to keep the area around the charger clean and free of clutter to prevent any accidents or damage.
Furthermore, consider scheduling annual maintenance checks with a professional electrician to ensure that the charger is functioning correctly and efficiently. During these inspections, the electrician can test the charger’s voltage output, check for any potential safety hazards, and make any necessary adjustments or repairs. By staying proactive with maintenance, you can prolong the lifespan of your EV charger and enjoy reliable charging for years to come.


