In this article you will learn how to safely and effectively replace a breaker in your home’s electrical panel. With the expertise and experience of R & T Yoder Electric, Inc., you can trust that you will receive the best guidance on this important task. Whether you are a homeowner or a business owner, knowing how to handle a breaker replacement is crucial for maintaining the safety and functionality of your electrical system. Let Yoder Electric be your go-to experts for all your electrical needs.
Have you ever experienced a power outage in your home that was caused by a tripped breaker? Do you know how to handle this situation and replace the breaker in your electrical panel? In this article, we will guide you through the process of safely and confidently replacing a breaker in your electrical panel.
Whether you are a beginner or have some experience with electrical work, follow along to learn the necessary steps to get your power back on smoothly.
Understanding Your Electrical Panel
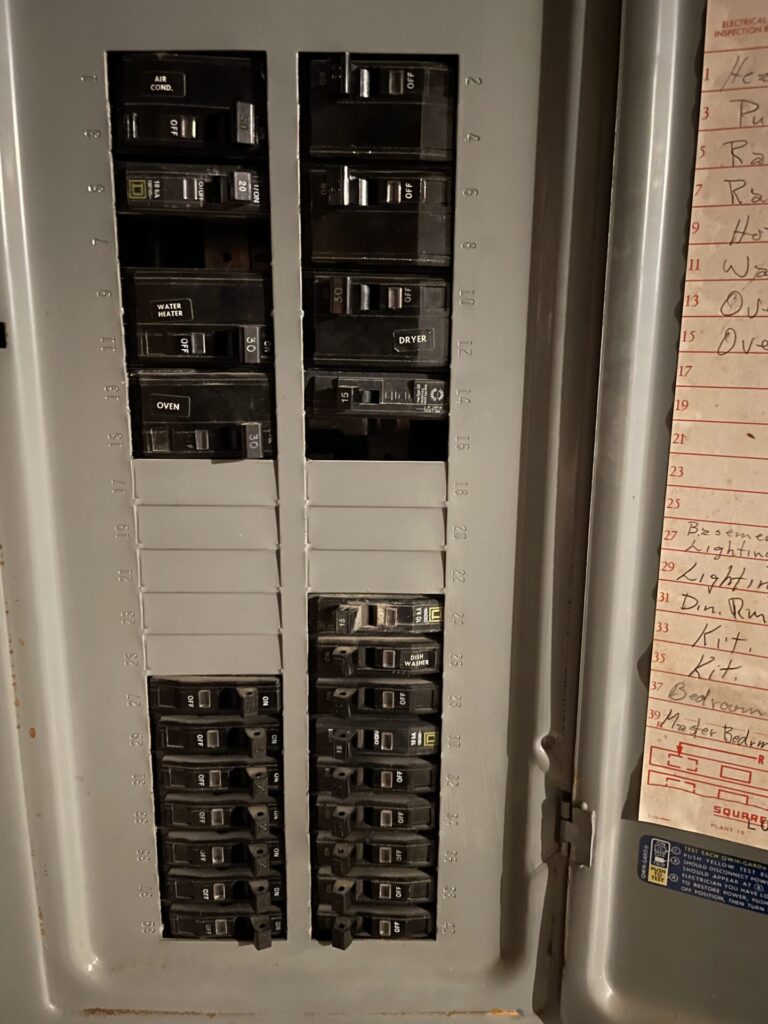
Before we dive into the process of replacing a breaker in your electrical panel, it’s essential to understand the basics of how your electrical panel works. Your electrical panel, also known as a breaker box, is the central distribution point for all the electrical circuits in your home. It houses circuit breakers that control the flow of electricity to different areas of your house.
What is a Circuit Breaker?
A circuit breaker is a switch that automatically interrupts the flow of electricity when it detects an overload or short circuit, preventing damage to your electrical system. When a circuit breaker trips, it cuts off power to the affected circuit, stopping the flow of electricity to prevent overheating and potential fires.
Types of Circuit Breakers
There are different types of circuit breakers, including standard breakers, AFCI (Arc-Fault Circuit Interrupter) breakers, and GFCI (Ground Fault Circuit Interrupter) breakers. Each type serves a specific purpose in protecting your electrical system. Make sure you understand which type of breaker you have in your panel before proceeding with the replacement.
Safety Precautions Before Starting
Replacing a breaker in your electrical panel involves working with live electrical currents, which can be dangerous if not done properly. Before you start the replacement process, take the necessary safety precautions to protect yourself and prevent accidents.
Safety Gear
Wear appropriate safety gear, such as insulated gloves and safety goggles, to protect yourself from electrical shocks and burns. Make sure to work in a well-lit area to see clearly and avoid making mistakes.
Shut Off Power
Before opening your electrical panel, shut off the main power supply to prevent any live wires from causing harm. Locate the main breaker in your panel and switch it off to cut off power to the entire house.
Test for Voltage
Use a digital multimeter to test for voltage in the panel box before touching anything inside. This step ensures that there is no live electricity flowing through the circuits you are working on.
Steps to Replace a Breaker
Now that you have taken the necessary safety precautions, it’s time to replace the faulty breaker in your electrical panel. Follow these steps carefully to ensure a successful and safe replacement process.
Step 1: Identify the Tripped Breaker
Locate the breaker that has tripped and is causing the power outage in your home. A tripped breaker is usually in the “off” position, indicating that it has detected an issue and needs to be reset or replaced.
Step 2: Turn Off the Circuit
Before removing the breaker from the panel, turn off the corresponding circuit by flipping the breaker to the “off” position. This step ensures that there is no electricity flowing through the circuit while you work on replacing the breaker.
Step 3: Remove the Old Breaker
Carefully loosen the screws holding the breaker in place and gently pull it out from the panel. Take note of the position of the wires connected to the breaker, as you will need to reconnect them to the new breaker in the same way.
Step 4: Install the New Breaker
Insert the new breaker into the appropriate slot in the panel and securely fasten it in place by tightening the screws. Make sure the wires are properly connected to the terminals on the new breaker to ensure a safe and reliable connection.
Step 5: Turn On the Circuit
Once the new breaker is installed, flip the breaker to the “on” position to restore power to the circuit. Test the circuit to ensure that the power is back on and that the breaker is functioning properly.
Troubleshooting Tips
If you encounter any issues during the breaker replacement process, here are some troubleshooting tips to help you address common problems and ensure a successful replacement.
Tripped Breaker Won’t Reset
If the new breaker keeps tripping immediately after you reset it, there may be an underlying issue with the circuit, such as a short circuit or overload. Inspect the circuit for any signs of damage or excessive load and address the issue accordingly.
Loose Connection
If you notice any loose connections or wires while replacing the breaker, tighten the screws and secure the connections to prevent any electrical hazards. Properly fastening the connections ensures a safe and reliable electrical system.
Circuit Still Without Power
If the circuit is still without power after replacing the breaker, double-check the connections and make sure the breaker is securely installed in the panel. Test the circuit again and consider seeking professional help if the issue persists.
Final Thoughts
Replacing a breaker in your electrical panel is a manageable task that can be done safely and effectively with the right knowledge and precautions. By understanding how your electrical panel works, taking the necessary safety measures, and following the step-by-step process outlined in this article, you can confidently tackle this electrical project in your home. Remember to prioritize safety at all times and reach out to a professional electrician if you encounter any challenges during the process. Keep your home’s electrical system in top condition and enjoy a reliable power supply for years to come.