Are you looking to run electrical wire from your breaker box to an outlet in your home or business? Look no further than Yoder Electric, a trusted family-owned business founded by Rod and Tina Yoder. With over 50 employees and two of their children working alongside them, Yoder Electric has the expertise and experience to handle any electrical job with professionalism and care. Whether it’s for your home or business, you can count on Yoder Electric to get the job done right. Let us help you with running electrical wire from your breaker box to your outlet today.Have you ever wondered how to run electrical wire from a breaker box to an outlet in your home? If so, you’ve come to the right place! In this article, we will guide you through the process step by step. Whether you’re a seasoned DIYer or new to electrical work, we’ll make sure you have all the information you need to successfully complete this project. Let’s get started!
Understanding Electrical Wiring Basics
Before we dive into how to run electrical wire from a breaker box to an outlet, it’s important to have a basic understanding of electrical wiring. Electrical wiring consists of conductors (wires) that carry electricity from the main electrical panel to various outlets, switches, and fixtures throughout your home. Each wire has a specific purpose and function, and it’s crucial to follow electrical codes and safety precautions when working with electricity.
What are the Different Types of Electrical Wire?
When it comes to running electrical wire in your home, you’ll typically encounter three main types of wire:
Non-Metallic (NM) Cable: Also known as Romex cable, NM cable is the most common type of electrical wire used in residential construction. It consists of two or more insulated conductors enclosed in a plastic sheath, making it easy to run and install.
Armored Cable (AC): Armored cable, also known as BX cable, is a flexible metal-clad cable that provides additional protection against damage and is often used in areas where the wiring may be exposed to physical harm.
Conduit: Electrical conduit is a rigid or flexible pipe that is used to protect and route electrical wiring in exposed or hazardous locations. Conduit can be made of metal, plastic, or flexible materials like PVC.
Understanding the differences between these types of electrical wire will help you choose the right one for your project and ensure that your electrical system is safe and up to code.
Planning Your Electrical Wiring Project
Now that you have a basic understanding of electrical wiring, it’s time to plan your project. Proper planning is essential to ensure that your electrical installation is safe, code-compliant, and meets your specific needs. Here are some key steps to consider before running electrical wire from a breaker box to an outlet:
Determine the Electrical Load
Before you begin your wiring project, it’s important to calculate the electrical load that the circuit will be carrying. This will help you determine the appropriate wire size and breaker size for the installation. Overloading a circuit with too many devices can lead to overheating, tripped breakers, and even electrical fires.
Choose the Right Wire Gauge
The wire gauge, or thickness, is an important factor to consider when running electrical wire. The wire gauge determines how much current the wire can safely carry, with lower gauge numbers indicating thicker wire. The National Electrical Code (NEC) provides guidelines for choosing the correct wire gauge based on the circuit load and length.
Plan the Routing of the Electrical Wire
Carefully plan the routing of the electrical wire from the breaker box to the outlet. Consider factors such as the location of the breaker box, distance to the outlet, obstructions in the wall, and the need for any additional junction boxes or splices. Planning ahead will help you avoid unnecessary complications during the installation process.
Running Electrical Wire from Breaker Box to Outlet
Now that you’ve done your homework and planned your project, it’s time to run the electrical wire from the breaker box to the outlet. Follow these step-by-step instructions to ensure a successful installation:
Turn Off the Power
Before working on any electrical installation, always turn off the power to the circuit at the main electrical panel. Use a non-contact voltage tester to verify that the power is off before proceeding with the project. Safety should always be your top priority when working with electricity.
Choose the Proper Conduit or Cable
Depending on the location and application of the wiring, choose the appropriate conduit or cable for running the electrical wire. Non-metallic (NM) cable is ideal for interior wall installations, while armored cable (AC) is better suited for areas where the wiring may be exposed to physical damage.
Route the Electrical Wire
Carefully route the electrical wire from the breaker box to the outlet, ensuring that it follows a safe and code-compliant path. Use cable staples or straps to secure the wire along the framing members and avoid sharp bends or kinks that could damage the wire insulation.
Install a Junction Box (if necessary)
If the distance between the breaker box and the outlet is too long, you may need to install a junction box to splice the wires together. Make sure to follow the NEC guidelines for installing junction boxes and ensure that all connections are secure and properly insulated.
Connect the Wires to the Breaker Box
Once the wire has been routed to the breaker box, carefully strip the insulation from the wires and connect them to the appropriate terminal on the circuit breaker. Double-check that the wires are connected securely and that there are no loose connections or exposed conductors.
Connect the Wires to the Outlet
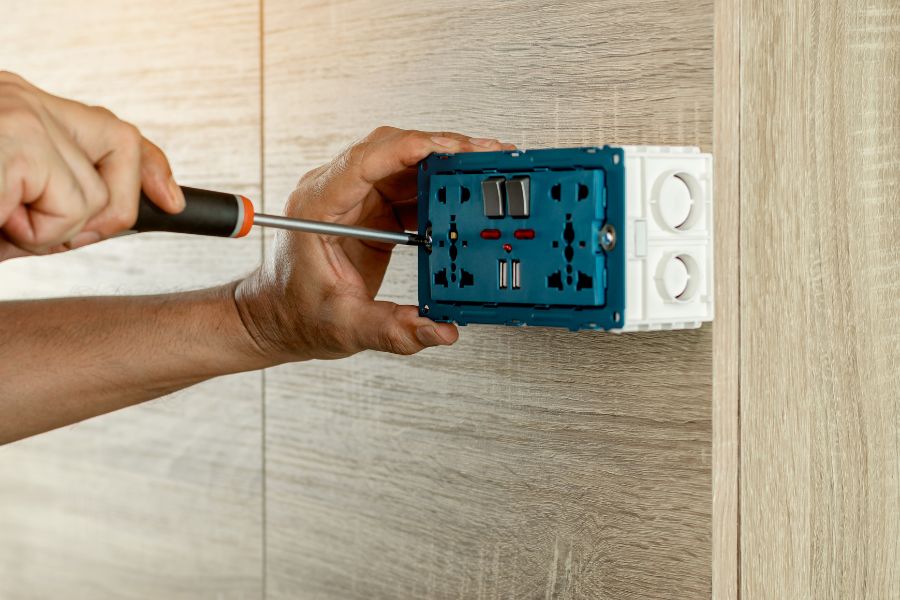
Finally, connect the wires to the outlet, following the manufacturer’s instructions for proper installation. Make sure to match the wire colors (black to black, white to white, and green or bare copper to ground) and secure the connections with wire nuts or terminal screws.
Testing and Safety Precautions
After completing the wiring installation, it’s crucial to test the circuit and ensure that everything is functioning correctly. Follow these steps to test the new electrical wiring and make sure it meets safety standards:
Test the Circuit
Turn the power back on at the main electrical panel and test the circuit using a multimeter or voltage tester. Verify that there is power at the outlet and that the wiring is functioning properly. If you encounter any issues, turn off the power immediately and troubleshoot the problem before proceeding.
Perform a Ground Fault Circuit Interrupter (GFCI) Test
If the outlet is located in a kitchen, bathroom, or other potentially wet location, it’s important to install a ground fault circuit interrupter (GFCI) to protect against electrical shocks. Test the GFCI by pressing the test button and ensuring that the circuit is properly grounded.
Inspect the Installation
Inspect the entire wiring installation, including the breaker box, outlet, junction boxes, and wire connections. Look for any signs of damage, loose connections, or exposed wiring that could pose a safety hazard. Address any issues promptly to ensure a safe and reliable electrical system.
Practice Electrical Safety
Throughout the installation process, always practice electrical safety by wearing appropriate protective gear, using insulated tools, and following safety guidelines. Never work on live circuits, and always turn off the power before making any electrical connections or modifications.
Congratulations! You’ve successfully learned how to run electrical wire from a breaker box to an outlet in your home. By following the steps outlined in this article and adhering to electrical codes and safety precautions, you can safely and confidently complete this project. Whether you’re installing a new receptacle, upgrading an existing circuit, or tackling a larger electrical project, you now have the knowledge and skills to get the job done right. Remember to always consult a licensed electrician for complex or dangerous electrical work, and enjoy the satisfaction of a job well done. Happy wiring!


