When installing a ceiling fan as a DIY project, prioritize safety by turning off power at the breaker box and having a helper. Use tools like screwdrivers, pliers, and a voltage tester. Choose a spot at least 18 inches from walls and 7 feet above the floor. Install the fan in the room’s center for optimal airflow, adjusting for high ceilings with an extension rod. Follow step-by-step instructions: secure bracket, connect wires, and attach fan properly. Test for smooth operation, secure mounting, and proper speeds. For more detailed guidance on placement and troubleshooting, check the manufacturer’s instructions provided.
Safety First: Precautions Before Starting
Before installing a ceiling fan, it is crucial to take necessary safety precautions to ensure a smooth and hazard-free process. Begin by turning off the power to the ceiling fan circuit at the breaker box to prevent any electrical accidents. Use a voltage tester to double-check that no electricity is flowing to the wires you will be working with. Secure a stable ladder and ensure it is on level ground before climbing up to the ceiling. It is advisable to have a second person present to assist you in holding the fan during installation.
Additionally, make sure to read the manufacturer’s instructions thoroughly before starting the installation process. Use the appropriate tools and materials as specified in the manual to prevent any mishaps. It is essential to wear safety goggles and gloves to protect yourself from any debris or sharp edges. Keep the area clear of clutter to avoid tripping hazards. By following these safety precautions, you will be better equipped to complete the installation successfully and without any incidents.
Tools Youll Need for Installation
Prepare your toolbox with the essential tools required for a successful ceiling fan installation. You will need a screwdriver set with both flathead and Phillips head screwdrivers to loosen and tighten screws. Additionally, a wire stripper and cutter will be necessary to prepare the electrical wiring for connection. A voltage tester is crucial to ensure the power is off before beginning work to prevent electrical shocks. A pair of pliers will come in handy for securing wires and making adjustments. A ladder or step stool is essential to reach the ceiling safely and comfortably. Depending on the type of ceiling fan you have, a socket set or adjustable wrench may be needed to assemble the fan components securely. Finally, make sure to have a pen and paper on hand for jotting down important notes and instructions during the installation process. By having these tools readily available, you can streamline the installation process and ensure a successful outcome.
Choosing the Right Location
To ensure optimal airflow and efficiency, carefully select a location that allows for proper circulation and cooling throughout the room. Choose a spot where the ceiling fan blades will be at least 18 inches away from any walls to prevent airflow obstruction. Additionally, make sure the fan is installed at a height of at least 7 feet above the floor for safety and maximum air movement. Placing the fan in the center of the room is ideal to ensure even distribution of air throughout the space.
Consider the size of the room when selecting the location for your ceiling fan. For larger rooms, you may need multiple fans or a larger fan with longer blades for adequate airflow. In rooms with high ceilings, an extension rod may be necessary to lower the fan closer to the living area for better air circulation.
Step-by-Step Installation Guide
Begin by ensuring that you have all the necessary tools and materials ready for the ceiling fan installation. You will need a ladder, a screwdriver, wire cutters, a voltage tester, pliers, and the ceiling fan kit which should include the fan, blades, mounting bracket, screws, and wires.
Next, turn off the power to the existing ceiling light fixture at the circuit breaker to avoid any accidents. Remove the old fixture, disconnecting the wires carefully.
Now, it’s time to install the ceiling fan mounting bracket. Secure it to the ceiling box using the provided screws. Connect the fan wires to the corresponding wires in the ceiling box – typically black to black (hot), white to white (neutral), and green to green or bare copper (ground).
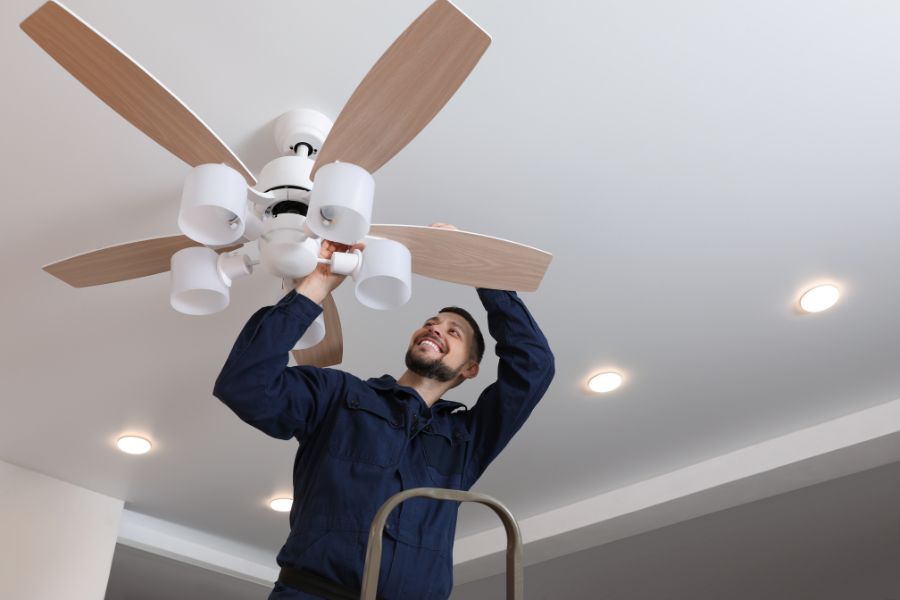
After the wires are securely connected, lift the fan and attach it to the mounting bracket following the manufacturer’s instructions. Once in place, secure the fan blades and turn the power back on to test the fan. If everything works correctly, you have successfully installed your ceiling fan.
Testing and Troubleshooting Tips
Ensure all connections are secure before restoring power to the ceiling fan to prevent any potential malfunctions. After installation, test the fan by turning it on to check for smooth operation. If the fan wobbles excessively, it may not be securely attached to the ceiling. Double-check the mounting bracket and screws to ensure they are properly tightened. Additionally, confirm that the blades are balanced by using a balancing kit if necessary.
If the fan doesn’t turn on, first verify that the power source is connected and turned on. Check the circuit breaker or fuse box to ensure there is power to the fan. If power is reaching the fan but it still doesn’t work, inspect the pull chain switch or remote control for any issues.
In case the fan operates but at a slower speed than expected, make sure it is set to the correct speed setting. Adjust the speed settings on the fan itself or through the remote control to achieve the desired airflow. If problems persist, consult the manufacturer’s instructions or seek professional assistance to diagnose and fix the issue promptly.