Install your ceiling fan confidently by first gathering a screwdriver, wire stripper, ladder, and your ceiling fan kit. Turn off the power supply and use a voltage tester for safety. Mount the ceiling fan bracket securely to the joist and connect the wires carefully using wire nuts. Lift and attach the fan assembly to the bracket, followed by the blades. Test the fan’s operation to ensure smooth functioning. For a detailed step-by-step guide on how to complete the installation seamlessly and efficiently, follow the outlined process provided for a successful ceiling fan installation experience.
Tools and Materials Needed
When installing a ceiling fan, gather tools and materials such as a screwdriver, wire stripper, ladder, ceiling fan kit, and electrical tape to ensure a smooth and successful installation process. Start by assembling the necessary tools and materials in one place to avoid interruptions during the installation. The screwdriver will be essential for securing the fan blades and mounting bracket. A wire stripper is necessary for preparing the wires for connection. A ladder is crucial for reaching the ceiling height safely. The ceiling fan kit should contain the fan motor, blades, mounting hardware, and instructions for installation. Additionally, electrical tape will be required for securing wire connections and insulating exposed wires. By having all these tools and materials ready before starting the installation, you will streamline the process and minimize potential delays. This preparation will set a solid foundation for the rest of the installation steps.
Turn Off Power Supply
To ensure safety and prevent electrical hazards, the first step is to switch off the power supply before proceeding with the ceiling fan installation. Locate your electrical panel and identify the circuit breaker that controls the room where you will be installing the fan. Flip the corresponding switch to the “off” position. It’s advisable to use a voltage tester to double-check that there is no power running to the wires before you start working. Verify that the power is completely off by testing the wires with the voltage tester. If you are unsure about which breaker to switch off or lack experience with electrical work, consider consulting a professional electrician to assist you with this step. Remember, safety should always be the top priority when working with electricity. Taking the time to turn off the power supply will help prevent accidents and ensure a smooth installation process.
Mount the Ceiling Fan Bracket
For secure installation, ensure the ceiling fan bracket is securely anchored to the ceiling joist using the provided screws and a power drill. Begin by holding the bracket up to the ceiling and aligning it with the holes in the bracket and the ceiling joist. Once aligned, mark the positions for the screws on the ceiling. Use a power drill to create pilot holes at the marked positions to prevent the ceiling from splitting when driving in the screws. Next, insert the screws through the bracket and into the pilot holes in the ceiling joist. Tighten the screws securely to ensure the bracket is firmly attached and can support the weight of the fan. It’s essential to confirm that the bracket is level during this process to avoid any imbalance once the fan is installed. With the bracket securely mounted, you are ready to proceed to the next step of connecting the wires and installing the ceiling fan.
Connect Wires and Install Fan
After securing the ceiling fan bracket, proceed to connect the wires and install the fan by following these steps:
- Turn off Power: Before starting, ensure the power to the ceiling fan is turned off at the circuit breaker to prevent any electrical accidents.
- Identify Wires: Identify the ceiling fan wires and the wires coming from the ceiling. Typically, you will have a black (hot), white (neutral), and green or bare copper (ground) wire.
- Connect Wires: Match the fan wires with the ceiling wires by color: black to black, white to white, and green/copper to green/copper. Use wire nuts to secure the connections and electrical tape for added safety.
- Secure the Fan: Lift the fan assembly and align the mounting bracket with the screws on the ceiling bracket. Rotate the fan until it locks into place.
- Attach Canopy: Slide the canopy up to cover the ceiling bracket and secure it with the provided screws.
- Install Light Kit (if applicable): Follow the manufacturer’s instructions to attach the light kit to the fan.
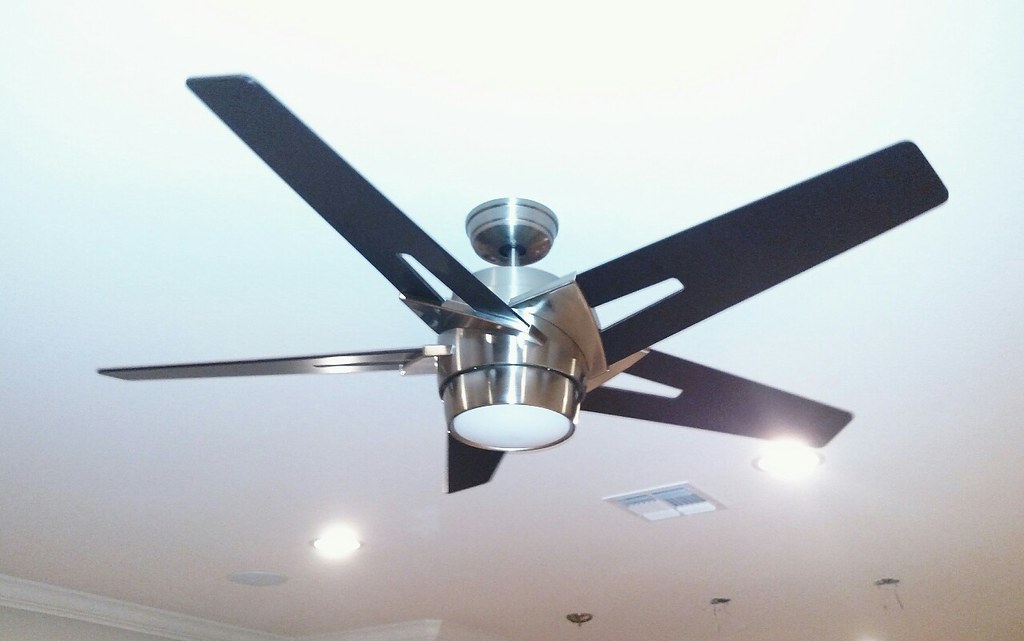
Attach Fan Blades and Test Operation
Attach the fan blades securely to the fan assembly using the provided screws, ensuring they are evenly spaced for proper balance before proceeding to test the fan’s operation. Start by aligning each blade with its corresponding slot on the fan assembly. Insert the screws through the pre-drilled holes on the blades and tighten them using a screwdriver. Make sure the blades are firmly attached to prevent any wobbling when the fan is in use.
Once all blades are secured, double-check their alignment and tightness. Turn on the power to the fan and test its operation. Start with the lowest speed setting and observe the fan blades for any irregular movements or noises. Then, switch to higher speeds to ensure the fan operates smoothly at all levels. If you notice any wobbling or unusual sounds, turn off the power immediately and recheck the blade attachments. Once you are satisfied with the fan’s performance, proceed to enjoy the comfort and airflow it provides in your space.