Prepare for success! Safely master installing new electrical switches. Wear insulated gloves and turn off power. Verify the power is off using a voltage tester. Remove the cover plate and unscrew the existing switch. Connect wires correctly to the new switch terminals. Test the new switch for proper function. Troubleshoot by checking the circuit breaker and ensuring the switch can handle the load. Address any buzzing or crackling sounds promptly. Remember, success lies in confirming switch compatibility, using a voltage tester, and securing wire connections. Tighten screws, label wires, and test the switch multiple times for functionality.
Tools and Materials Needed
To successfully install new electrical switches, gather essential tools and materials such as a voltage tester, screwdriver set, wire stripper, and new switches. These items are crucial for ensuring a safe and efficient installation process. Begin by turning off the power to the circuit you will be working on at the main electrical panel. Use the voltage tester to double-check that there is no electricity running through the wires. Once confirmed, remove the existing switch cover plate with a screwdriver and then unscrew the switch from the electrical box.
Next, carefully disconnect the wires from the old switch using a wire stripper to expose a small section of the wire. It’s important to remember the wire placements to ensure proper connection to the new switch. Attach the wires to the corresponding terminals on the new switch, making sure they are securely fastened. Once all connections are made, carefully tuck the wires back into the electrical box, screw the new switch into place, and replace the cover plate. Finally, turn the power back on and test the new switch to ensure it is functioning correctly.
Safety Precautions to Follow
For optimal safety during the installation of new electrical switches, ensure to wear insulated gloves at all times. Insulated gloves provide protection against electric shocks and should be a staple when working with electricity. Additionally, make sure to turn off the power supply to the area where you will be working to avoid any accidents. Use a voltage tester to double-check that the power is indeed off before proceeding. It is crucial to work in a well-lit area to see clearly and avoid mistakes. Keep the work area dry to prevent any water-related accidents, and never touch a switch with wet hands. If you encounter any frayed wires or signs of damage, refrain from continuing the installation and seek professional help. Lastly, always follow the manufacturer’s instructions and local electrical codes to ensure a safe and compliant installation process.
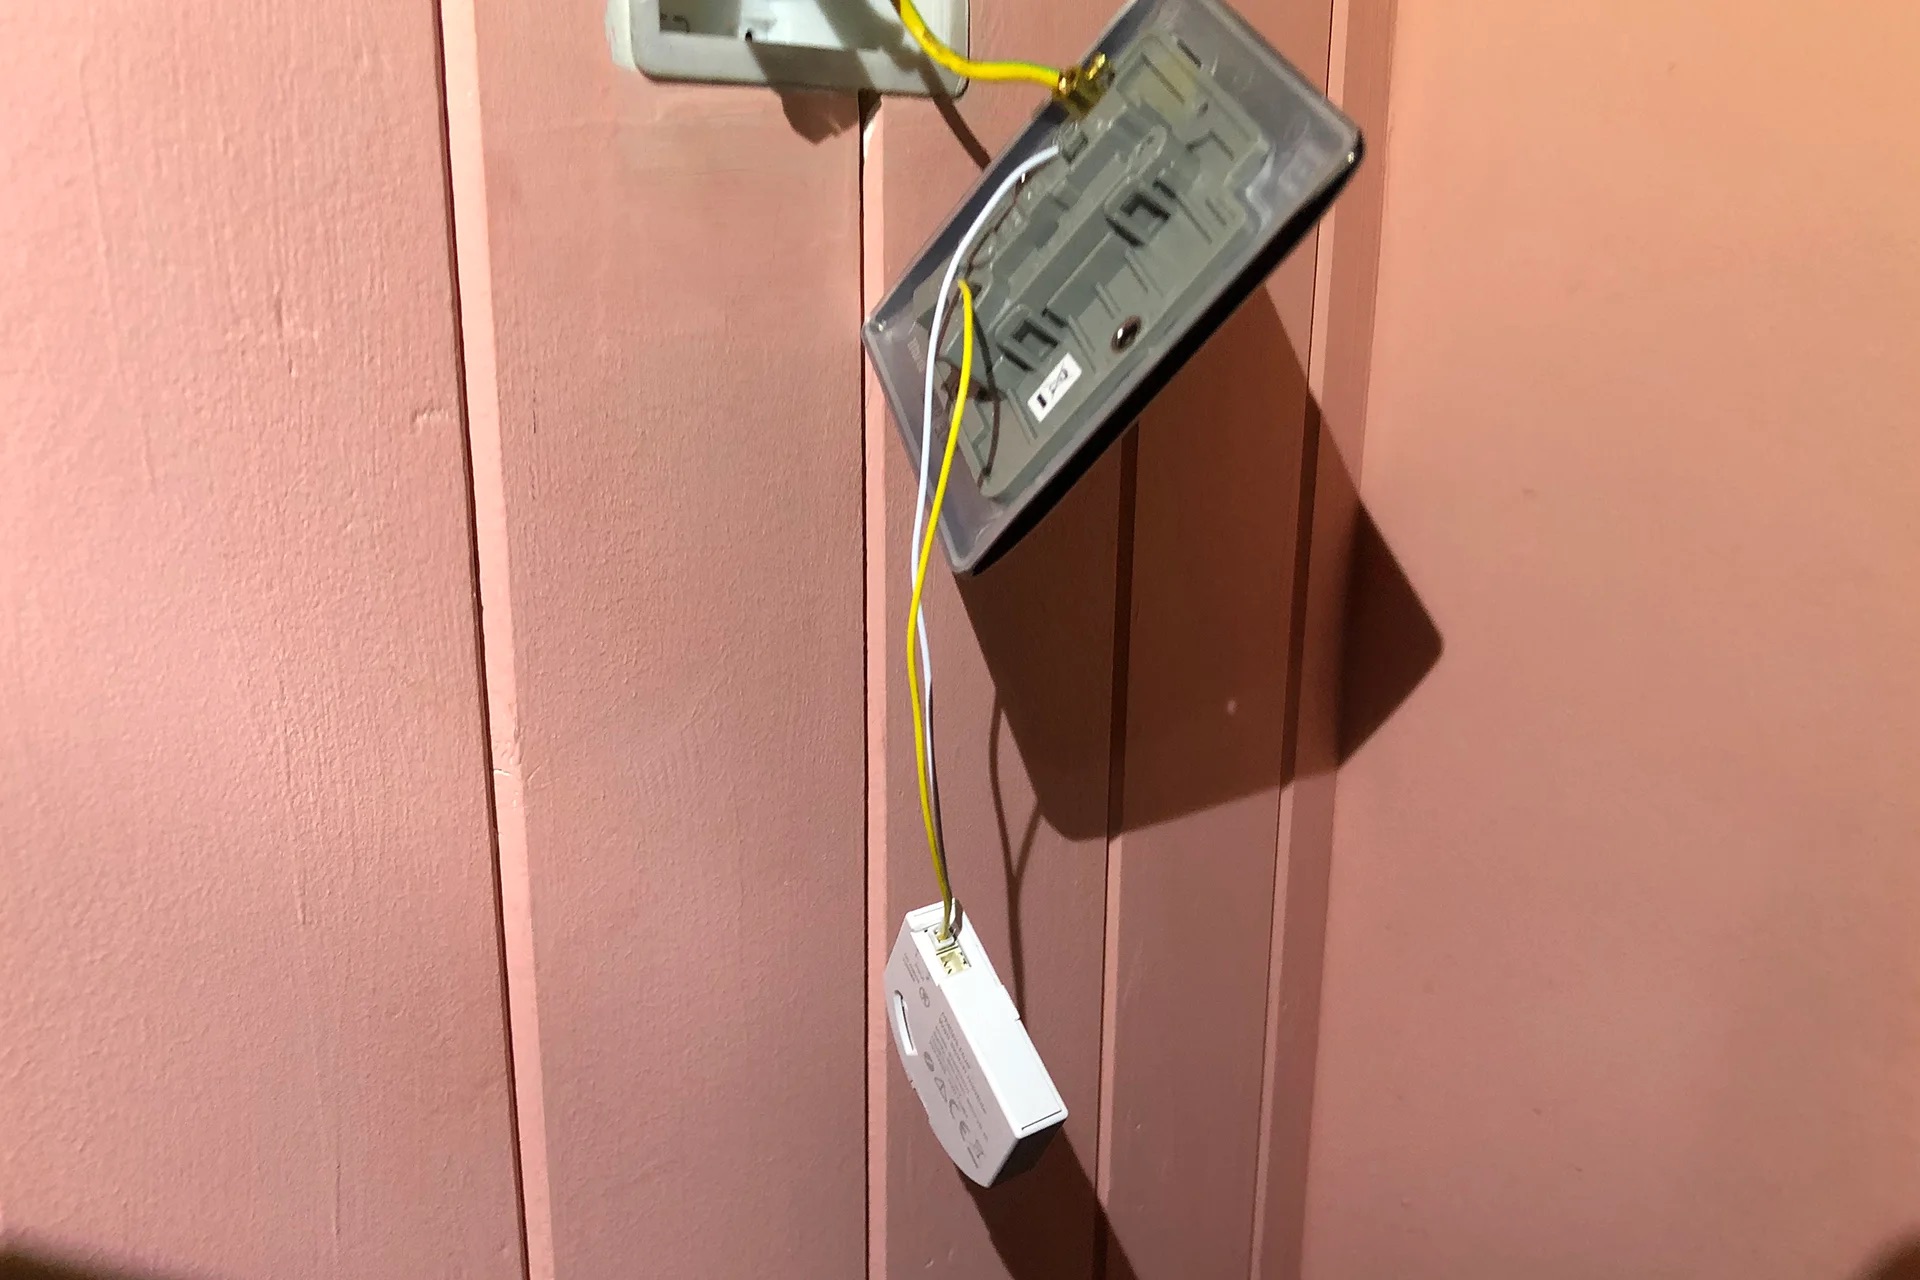
Step-by-Step Switch Installation Guide
When installing new electrical switches, remember to wear insulated gloves for protection against electric shocks and always verify the power is off using a voltage tester before proceeding. To begin, turn off the power at the circuit breaker to ensure safety. Remove the cover plate and unscrew the existing switch from the electrical box. Carefully pull the switch out, being mindful of the wires connected to it. Take note of the wire placements – typically, the black wire is the hot wire, the white wire is neutral, and the green or copper wire is the ground. Loosen the screws on the side of the switch to release the wires. Next, connect the wires to the corresponding terminals on the new switch, ensuring they are securely fastened. Gently tuck the wires back into the electrical box and attach the new switch, securing it in place with screws. Finally, replace the cover plate and restore power at the circuit breaker to test the new switch.
Troubleshooting Common Issues
Identifying and resolving common electrical switch issues demands a systematic approach and a keen eye for detail. If your switch fails to operate, check the circuit breaker first to ensure it hasn’t tripped. Loose wiring connections can also cause switches to malfunction, so tighten any screws on the switch terminals. Inconsistent power flow can indicate a faulty switch, requiring replacement. Dimming or flickering lights may be due to incompatible bulbs or a high wattage exceeding the switch’s capacity. Ensure the switch is rated for the correct load. If the switch feels hot to the touch, it could be a sign of overload or a loose connection, necessitating immediate attention. Buzzing or crackling sounds when using the switch may indicate a wiring issue or a defective switch. Always turn off the power before inspecting or handling switches to prevent electrical hazards. By following these troubleshooting steps diligently, you can effectively diagnose and resolve common electrical switch issues.
Final Tips for Success
To ensure successful installation of new electrical switches, always double-check the compatibility of the switch with the electrical load it will be handling. This crucial step helps prevent overload or short circuits that could lead to safety hazards. Before starting the installation process, turn off the power to the circuit you will be working on at the breaker box and use a voltage tester to ensure the wires are not live. When connecting the wires to the new switch, make sure to match the corresponding colors and tighten the screws securely to avoid loose connections. Additionally, consider labeling the wires before disconnecting the old switch to simplify the process. After installing the new switch, test it multiple times to guarantee it functions correctly before closing up the electrical box. Remember to follow all local electrical codes and regulations to ensure a safe and compliant installation. If you encounter any difficulties or are unsure about any step, do not hesitate to consult a professional electrician for assistance.