For safe GFCI installation in wet areas: 1) Turn off power supply, use voltage tester, wear safety gear. 2) Gather tools: voltage tester, screwdrivers, wire stripper, GFCI outlet. 3) Decide GFCI placement, consider water exposure, accessibility. 4) Installation: connect per manual, secure outlet, restore power, test. 5) Test GFCI: press test, check power off/on, use plug-in tester, verify all outlets. Start with safety, tools, and placement to ensure a secure installation in wet areas.
Safety Precautions
Before embarking on any GFI installation in wet areas, it is crucial to adhere to strict safety precautions to prevent electrical hazards and ensure a secure environment. Water and electricity are a dangerous combination, so taking the necessary steps to safeguard yourself and the installation area is paramount. Begin by turning off the power supply to the area where the GFI outlet will be installed. This can be done by switching off the circuit breaker or removing the fuse that controls the specific area. Use a voltage tester to double-check that there is no power running to the outlet before proceeding.
Furthermore, always wear insulated gloves and safety goggles to protect yourself from potential shocks. Make sure the installation area is dry and free from any water sources. It’s also advisable to have a fire extinguisher nearby in case of emergencies. Never compromise on safety measures when dealing with electricity and water to avoid accidents and ensure a successful GFI installation in wet areas.
Tools and Materials Needed
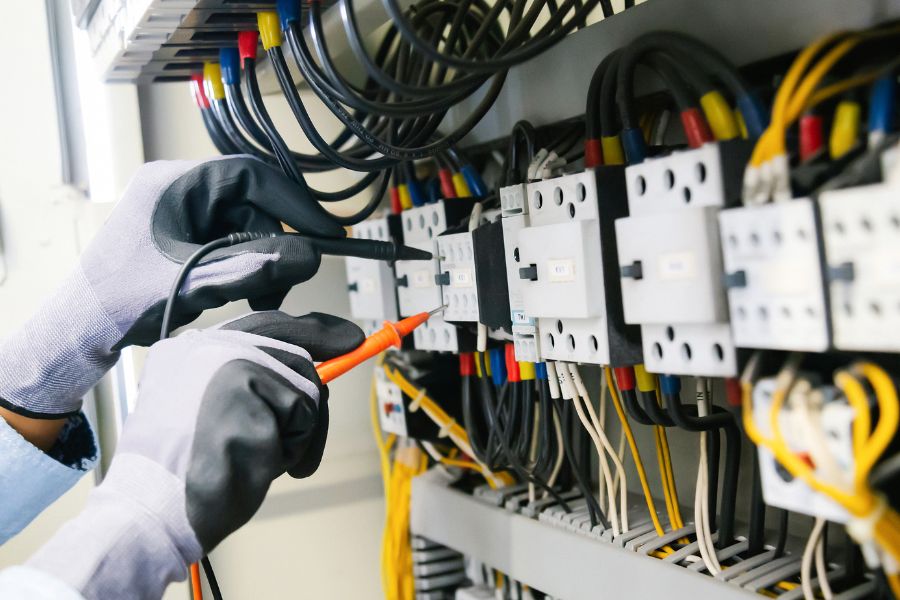
To effectively carry out the GFI installation in wet areas, ensure you have the necessary tools and materials readily available. For this task, you will need a voltage tester to ensure the power is off before starting work. Additionally, a flat-head screwdriver and a Phillips-head screwdriver will be necessary for removing and securing electrical components. A wire stripper will help you prepare the wires correctly for connection. It is crucial to have wire nuts for securely connecting wires together. A utility knife will be handy for cutting and stripping insulation from wires. Electrical tape is essential for insulating wire connections. Furthermore, make sure to have a GFI outlet, as well as a waterproof cover suitable for wet locations. Lastly, have a pencil and a notepad handy for marking and noting down important information during the installation process. Having these tools and materials prepared will help facilitate a smooth and successful GFI installation in wet areas.
Locate GFCI Placement
You should carefully assess the wet area’s electrical layout to determine the most strategic placement for the GFCI outlet. Identify all potential sources of water exposure, such as sinks, showers, or outdoor locations, where electrical appliances may be used. The GFCI outlet should be installed within easy reach of these areas to provide optimal protection against electrical hazards.
When locating the GFCI outlet, ensure it is easily accessible for resetting in case of tripping. Avoid placing it behind large appliances or in hard-to-reach areas. Ideally, the outlet should be positioned at least 12 inches above the floor level to prevent water damage in case of flooding.
Consider the wiring and installation process when selecting the placement. The location should allow for easy connection to the existing electrical system while ensuring the outlet is securely mounted. Additionally, take into account any local building codes or regulations that may dictate specific placement requirements for GFCI outlets in wet areas.
Installation Process
Assessing the optimal location for the GFCI outlet in wet areas, taking into account water exposure sources and accessibility for resetting, is essential before proceeding with the installation process. Begin by turning off the power supply to the area where the GFCI outlet will be installed. Remove the existing outlet carefully, ensuring not to damage the wires. Next, connect the GFCI outlet following the manufacturer’s instructions, typically involving attaching the hot wire to the brass-colored terminal, the neutral wire to the silver-colored terminal, and the ground wire to the green terminal. Gently fold the wires back into the electrical box, making sure they are not crimped or damaged. Secure the GFCI outlet to the electrical box using the provided screws. Finally, restore the power supply and test the GFCI outlet using a reliable circuit tester to ensure proper installation. This meticulous installation process is crucial to guarantee the safety and functionality of the GFCI outlet in wet areas.
Testing and Final Checks
Upon completion of the GFCI outlet installation, the next critical step involves conducting thorough tests and final checks to ensure optimal functionality and safety in wet areas. Begin by pressing the “Test” button on the GFCI outlet. This should cause the outlet to trip, cutting off power. Use a voltage tester to confirm that the power is indeed off. Press the “Reset” button to restore power to the outlet. Next, test the GFCI outlet using a plug-in tester. This device simulates ground faults and should cause the GFCI to trip when plugged in. If the GFCI doesn’t trip, there may be wiring issues that need to be addressed. Additionally, check all other outlets connected to the GFCI for proper functionality. Finally, ensure that all covers are securely in place and that the outlet is properly sealed against moisture. By following these steps, you can guarantee a safe and reliable GFCI installation in wet areas.